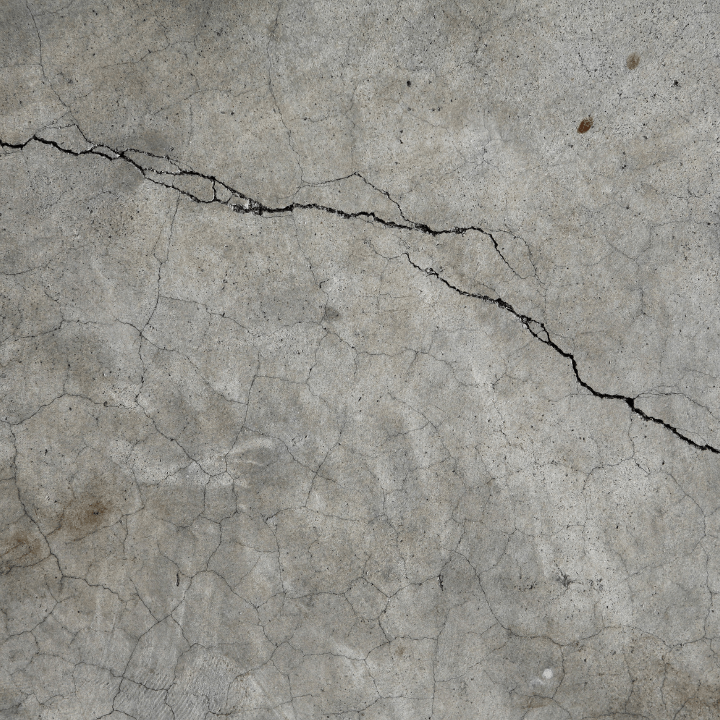
Discovering cracks in your floor due to underlying foundation issues can be disheartening, but it doesn’t necessarily mean you have to live with unsightly flooring. Epoxy flooring presents an excellent solution that not only addresses the aesthetic concerns of cracked floors but also provides a durable and resilient surface. In this guide, we will explore what to do when your floor is cracked from foundation issues and how to achieve a stunning epoxy floor transformation.
Assess the Foundation Issues
Before diving into the process of applying epoxy flooring, it’s crucial to assess and address the underlying foundation issues causing the cracks. Consulting with a foundation repair professional is the first step. They will evaluate the extent of the damage, identify the root causes, and recommend appropriate repairs. It’s essential to resolve foundation problems to prevent future issues that may affect the new epoxy flooring.
Repair and Prepare the Cracks
Once foundation issues are addressed, it’s time to repair and prepare the cracks in the existing floor. Here’s a step-by-step guide:
- Clean the cracks: Remove any debris, dust, or loose material from the cracks using a vacuum or a stiff brush. A clean surface is crucial for proper adhesion of the epoxy.
- Fill the cracks: Use a high-quality epoxy crack filler to fill in the cracks. Ensure that the filler is suitable for the type of flooring you have. Follow the manufacturer’s instructions for application and drying times.
- Smooth the surface: After the epoxy filler has cured, smooth the surface using sandpaper to create an even and level base for the epoxy coating. This step is essential for achieving a polished and flawless finish.
Selecting the Right Epoxy Flooring System
Choosing the right epoxy flooring system is crucial for achieving the desired results. There are various epoxy formulations available, each designed for specific applications. Consider the following options:
- Self-Leveling Epoxy: Ideal for uneven surfaces, self-leveling epoxy creates a smooth and seamless finish. It’s excellent for hiding imperfections and providing a glossy, polished look.
- Epoxy Flake Flooring: This system involves broadcasting decorative flakes onto the epoxy base coat. It not only adds a visually appealing element but also enhances slip resistance and durability.
- Metallic Epoxy: Offering a unique and artistic finish, metallic epoxy creates a mesmerizing, three-dimensional effect. It’s a popular choice for those seeking a high-end, customized appearance.
- Solid Color Epoxy: For a classic and clean look, solid color epoxy is a versatile option. It provides a uniform finish and is available in a wide range of colors to suit any aesthetic.
Surface Preparation for Epoxy Application
Proper surface preparation is key to the success of epoxy flooring. Follow these steps to ensure a flawless application:
- Clean the Surface: Thoroughly clean the floor surface, removing any dust, dirt, or contaminants. Use a degreaser if necessary to eliminate oil or grease stains.
- Etch the Surface: If you’re working with concrete, etch the surface to promote adhesion. This can be done using an acid etching solution or a mechanical grinder.
- Moisture Testing: Check for moisture in the concrete by placing a plastic sheet on the floor and sealing the edges. Condensation under the plastic indicates excess moisture, which must be addressed before applying epoxy.
Application of Epoxy Flooring
Follow these general steps for applying epoxy flooring:
- Primer Application: Apply a thin layer of epoxy primer to create a bond between the existing floor and the epoxy coating. Allow the primer to dry according to the manufacturer’s instructions.
- Epoxy Base Coat: Apply the epoxy base coat using a roller or squeegee, ensuring an even and consistent application. This serves as the foundation for the selected epoxy flooring system.
- Decorative Elements (if applicable): If using flakes or metallic pigments, apply them while the epoxy base coat is still wet. This adds texture and visual interest to the floor.
- Top Coat Application: Finish the process with a clear, protective top coat. This layer enhances durability, provides resistance to stains, and gives the floor a glossy finish.
- Curing Time: Allow the epoxy to cure completely based on the manufacturer’s guidelines before subjecting the floor to foot traffic or heavy use.
Maintenance and Long-Term Care
To ensure the longevity and beauty of your epoxy floor, follow these maintenance tips:
- Regular Cleaning: Keep the floor clean by sweeping or vacuuming regularly to remove dirt and debris.
- Mild Cleaning Solutions: Use a mild, pH-neutral cleaning solution to mop the floor. Avoid harsh chemicals that can damage the epoxy coating.
- Avoid Sharp Objects: Prevent scratches by placing felt pads under furniture and avoiding dragging heavy or sharp objects across the floor.
- Prompt Repairs: Address any issues promptly, such as chips or scratches, to prevent further damage.
Transforming a cracked floor due to foundation issues into a stunning epoxy masterpiece is an achievable goal with the right approach. By addressing foundation problems, repairing surface cracks, selecting the appropriate epoxy system, and following proper application and maintenance procedures, homeowners can enjoy a resilient, aesthetically pleasing floor that not only masks the scars of the past but also adds value to their living space. With careful consideration and attention to detail, the journey from cracked foundations to a seamless epoxy floor can be both rewarding and transformative.

